Good photos are essential for accurate remote consultations. Here's how to take photos that help surgeons assess your features.
Why Quality Matters
- Surgeons rely on photos for assessment
- Poor photos lead to inaccurate quotes
- Good photos show true features
- Reduces surprises at consultation
Ideal Lighting
Best Options
- Natural daylight (not direct sun)
- Facing window
- Overcast day is ideal
- Morning or evening light
Avoid
- Overhead lighting (creates shadows)
- Fluorescent lights
- Direct flash
- Backlighting
Required Angles
Standard Views
- Front (looking straight)
- Right profile (90 degrees)
- Left profile (90 degrees)
- Right 45-degree angle
- Left 45-degree angle
Additional Helpful
- Looking up (for nose)
- Looking down (top of head)
- Smiling (for eyes/facial movement)
Camera Tips
Settings
- Phone camera works fine
- No filters or editing
- High resolution
- Portrait mode off (can distort)
Distance
- Arm's length or slightly more
- Consistent distance for all photos
- Face fills frame appropriately
Preparation
- No makeup
- Hair pulled back
- Neutral expression
- Plain background
- Neutral-colored clothing
Common Mistakes
- Selfies too close (distortion)
- Using filters
- Poor lighting
- Inconsistent angles
- Too few photos


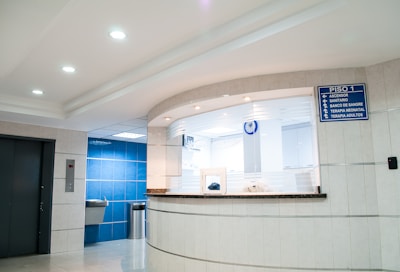
 Clinic Introduction
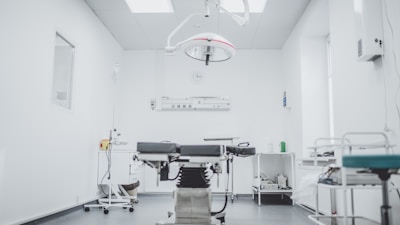
 Medical Facility
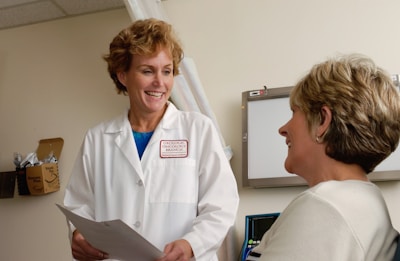
 Patient Care
 Consultation Room
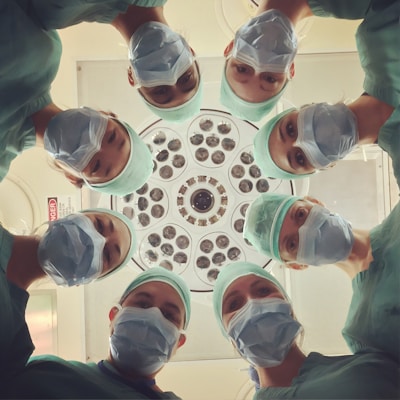
 Medical Staff
 Recovery Suite
 Treatment Room