Good documentation helps track your results and share experiences. Here's how to photograph your Korean surgery journey effectively.
Pre-Surgery Photos
Timing
- 1-2 days before procedure
- Same day morning (no makeup)
- Consistent with post-surgery photos
Technical Tips
- Natural daylight, no flash
- Neutral background
- Camera at eye level
- Same distance for all photos
- No filters or editing
Angles to Capture
- Front view (face relaxed)
- Both side profiles
- 45-degree angles both sides
- Looking up (for nose/chin)
- Smiling and relaxed expressions
Recovery Documentation
Frequency
- Daily for first week
- Every 2-3 days week 2-4
- Weekly after first month
- Monthly long-term
What to Note
- Date and time
- Swelling level
- Bruising location
- Any concerns
Post-Surgery Photo Tips
Consistency Is Key
- Same location/background
- Same lighting conditions
- Same angles as pre-surgery
- Same distance from camera
For Sharing Online
- Consider privacy implications
- May want to obscure identifying features
- Watermark if concerned about misuse
Video Documentation
- Shows movement and natural appearance
- Captures expressions
- More realistic than photos
- Good for personal record
Organizing Your Photos
- Create dated folders
- Back up to cloud storage
- Keep separate from regular photos
- Note which clinic/surgeon for future reference


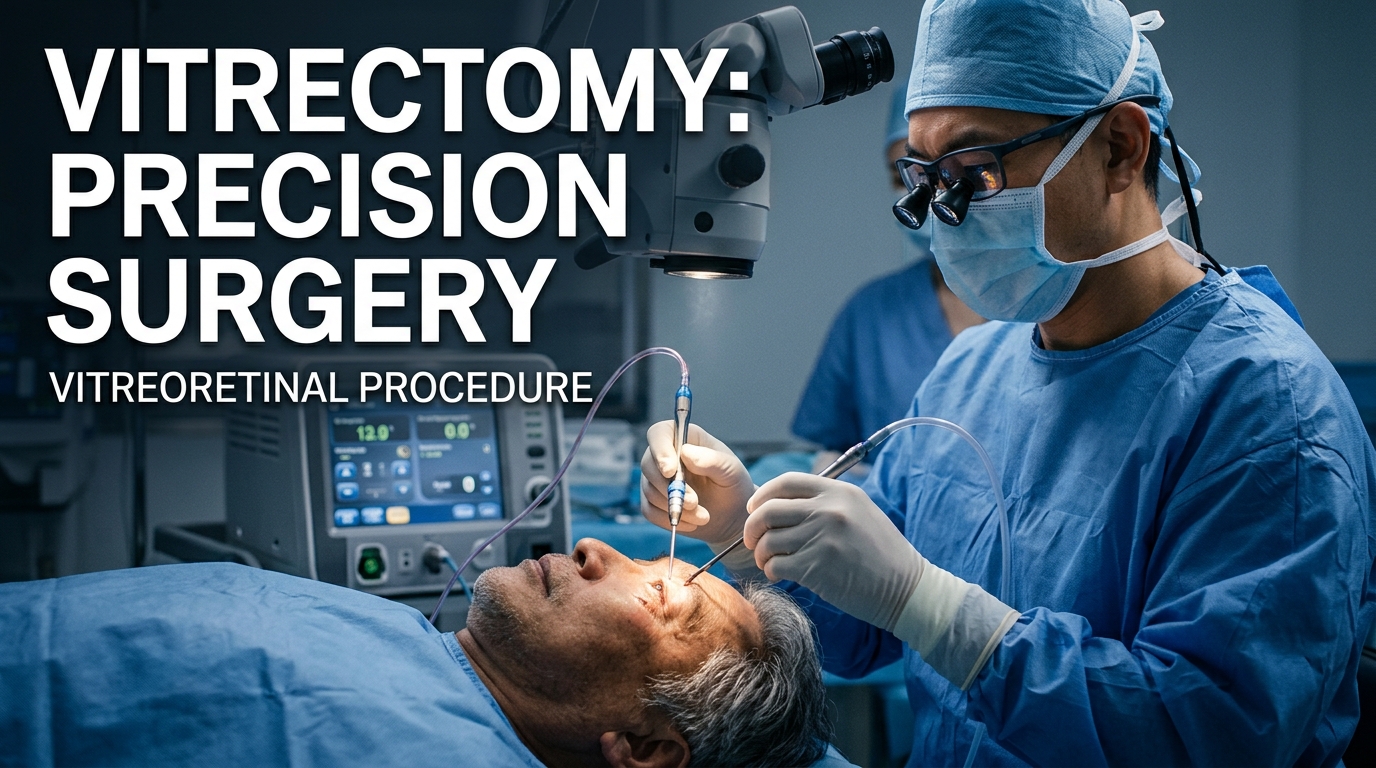
 Clinic Introduction
 Medical Facility
 Patient Care
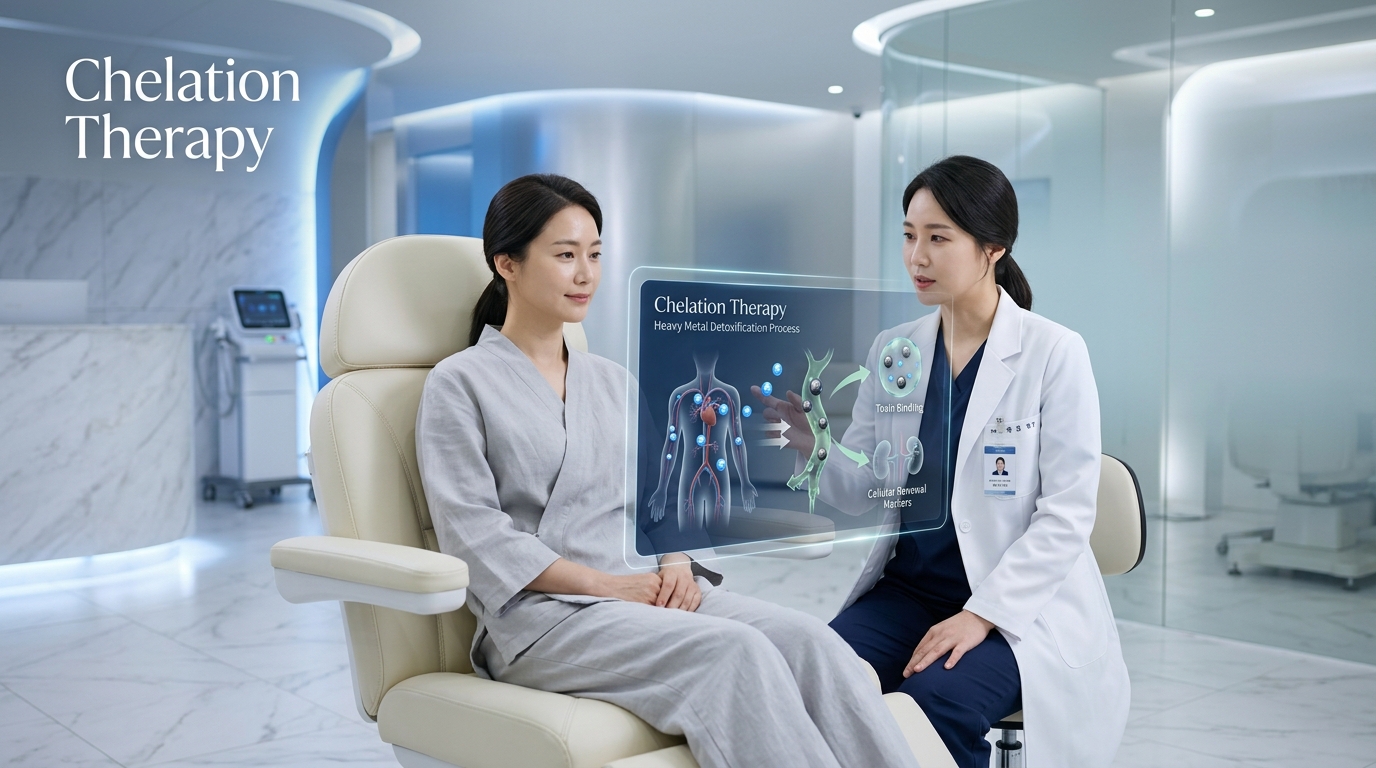
 Consultation Room
 Medical Staff
 Recovery Suite
 Treatment Room